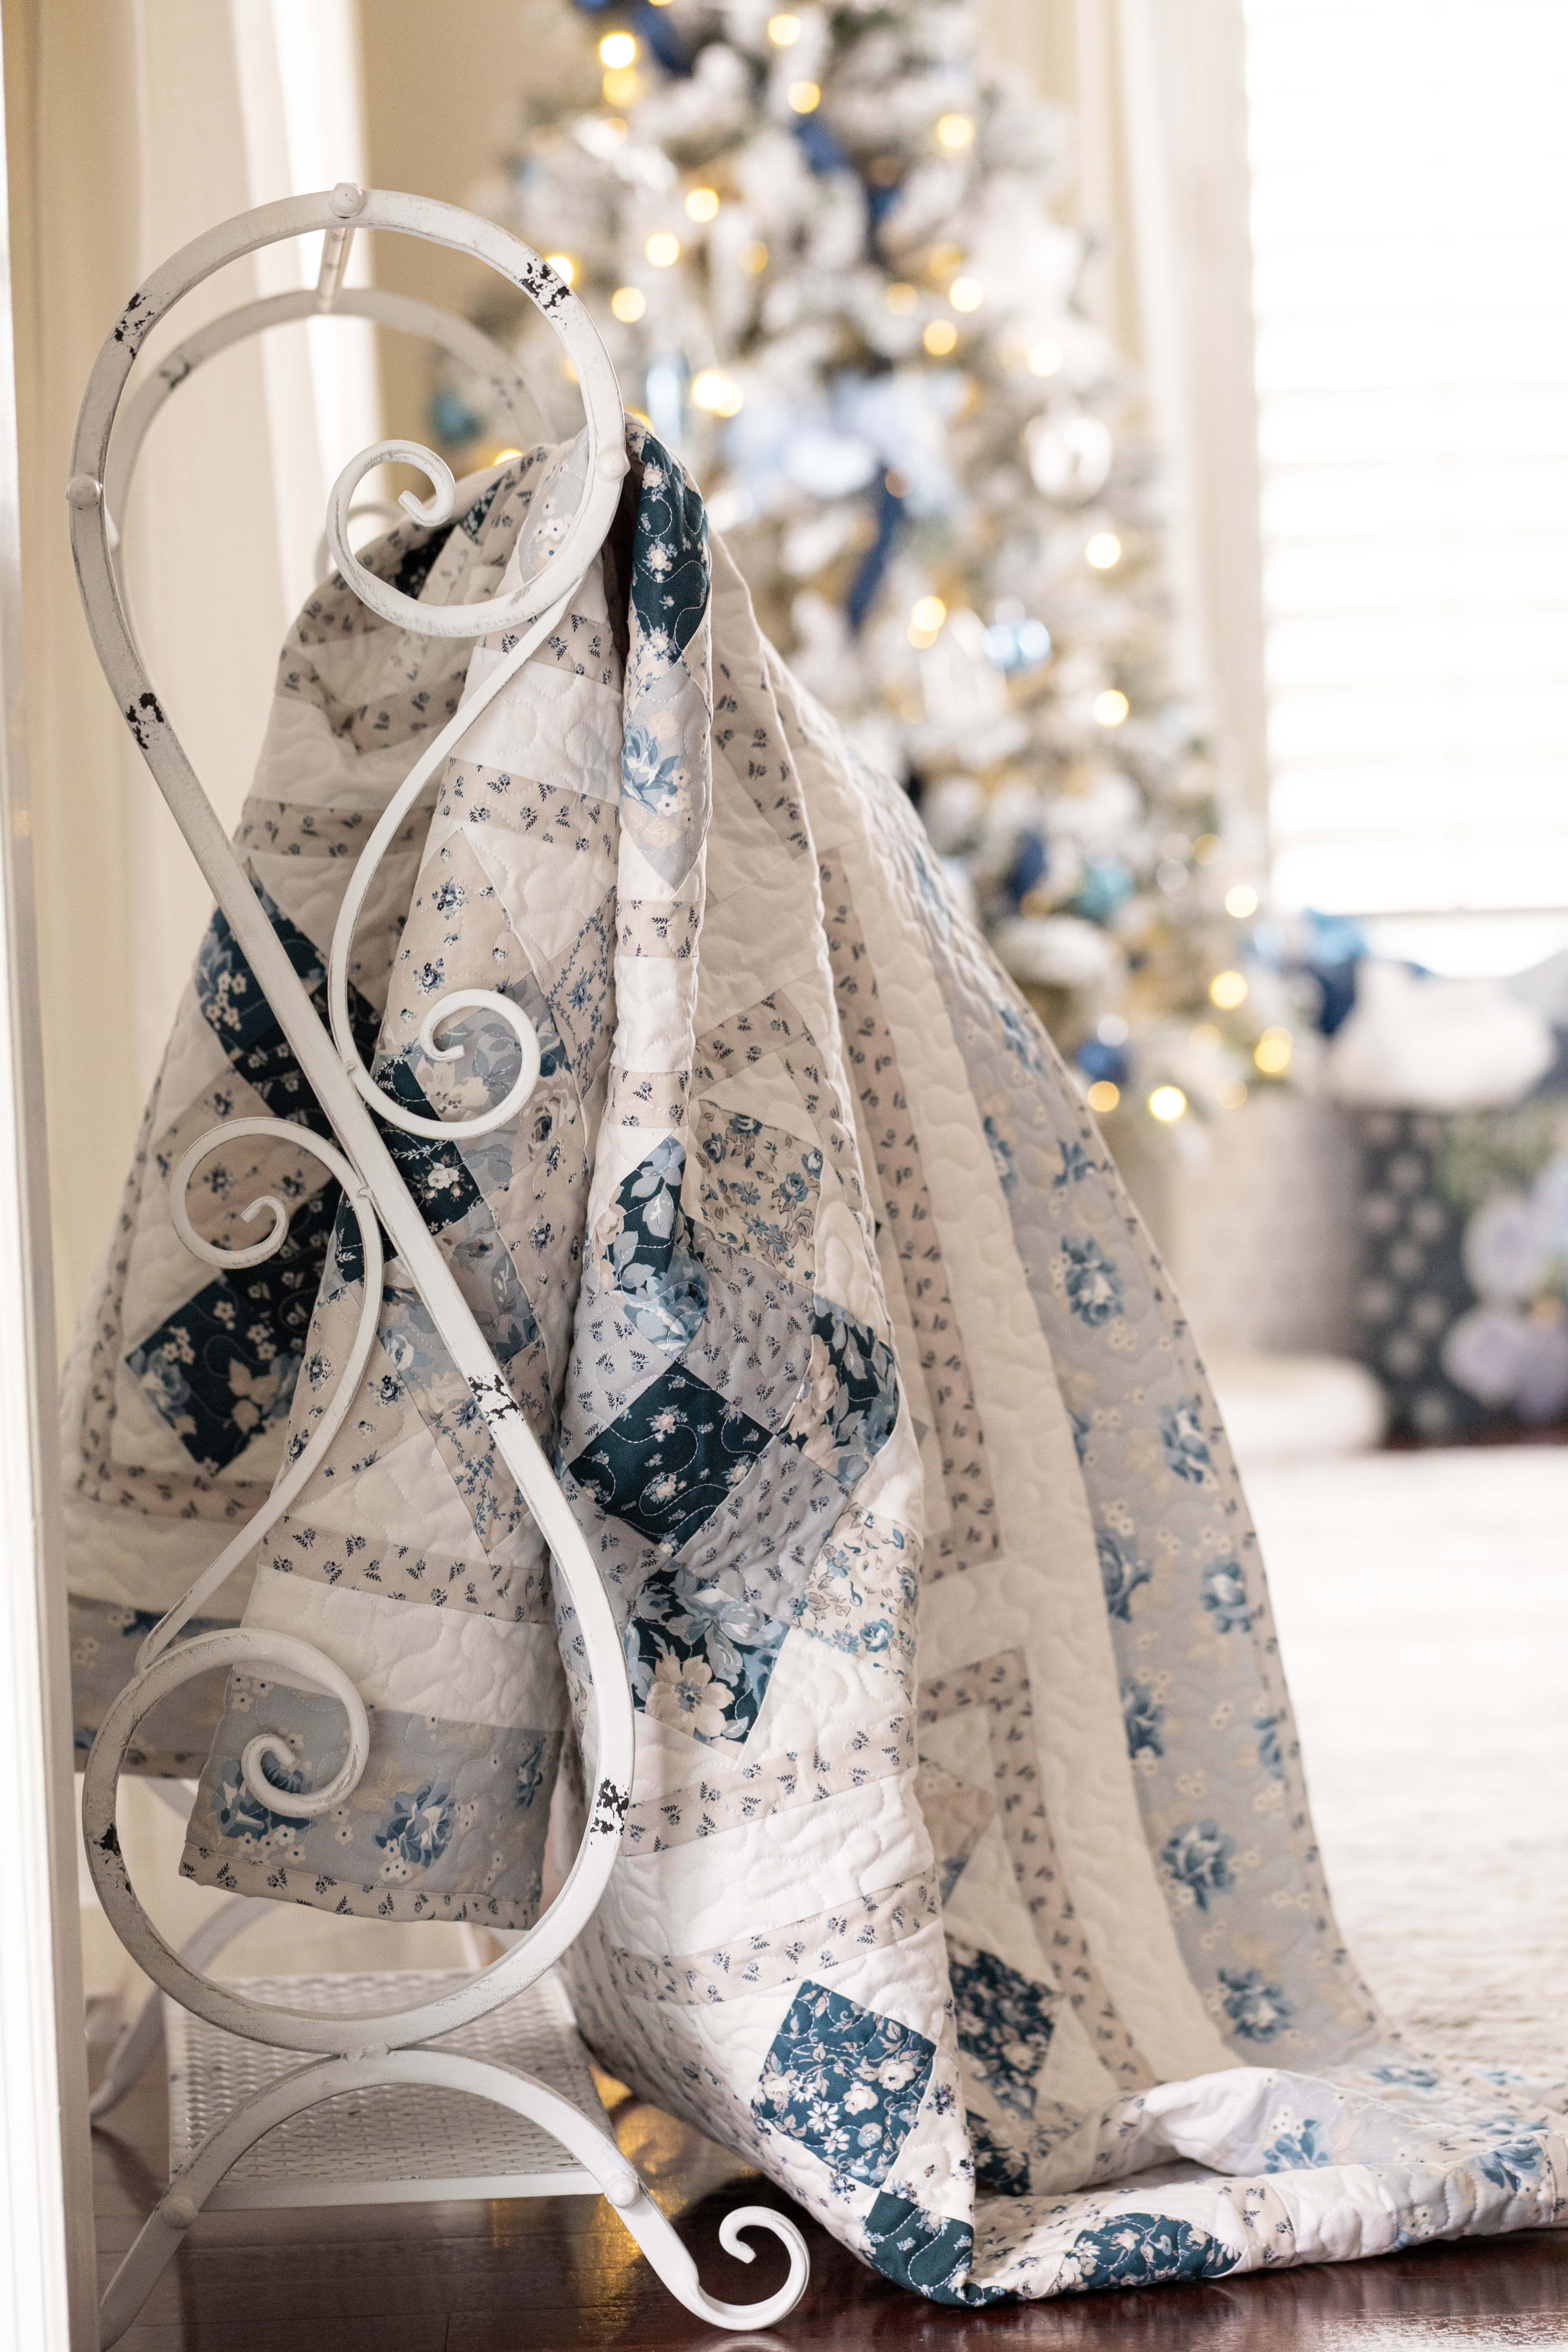
The granny square quilt block is one of the most recognizable designs in the quilting world, beloved for its vibrant colors, versatility, and charming, almost whimsical appearance. Despite how intricate it looks; the granny square is actually a surprisingly simple block to make. This design has been around since the late 19th century, gaining popularity during the Crazy Quilt trend of the time, and remains a favorite today for quilters of all skill levels.

The granny square is a simple yet stunning block that looks much more complicated than it really is. Whether you’re a beginner or an experienced quilter, it’s a perfect choice for creating a beautiful quilt and is also a great way to use up leftover fabric from past projects. In this post, I’ll show you how to make a modern version using 3.5″ squares.

What makes the granny square so appealing is its intricate appearance. At first glance, you might think it requires advanced skills and careful planning. But the truth is, it’s one of the easiest blocks to make!


The key to the granny square’s complexity lies in the combination of small, contrasting fabric pieces sewn together to create the illusion of intricacy. Each block typically features a small square in the center, surrounded by several rounds of complementary fabrics. While the block may appear complex, each round is sewn one piece at a time, forming a beautiful, geometric pattern that is surprisingly easy to assemble.

This deceptively intricate look is what makes the granny square a favorite among quilters of all levels. It’s beginner-friendly but offers enough challenge to make even experienced quilters feel accomplished once it’s finished.


How to Make a Granny Square Block
For each block, I chose 4 different prints and a solid white fabric. Here’s how I cut and assembled them:
Step 1: Cut the prints and solid white fabric into 3.5″ squares.
Step 2: For the center of the block, I used a single print. For the surrounding squares, I used 4 squares of each print and 12 squares of white. Sew the squares together in rows, starting with the center and then adding the surrounding pieces to form the full block.

Step 3: Press each row in an alternating direction to help the seams align neatly.

Step 4: Sew the rows together, being careful to match the seams as you go. I use a stiletto tool to help guide the fabric and ensure the seams line up perfectly.

Step 5: Press the block, then square it up to 13″. I used a 13″ ruler to trim the edges, ensuring there’s a 1/4″ seam allowance around each point of the printed fabric.


Step 6: Give the block a final press and use this step to trim any excess threads from the back for a clean finish.

For this project, I used the Serenity Blues fat quarter bundle, featuring vintage floral prints that complement the granny square design. I added neutral gray sashing to frame each block and chose a crisp white background for a modern feel. For the border, I selected the large-print, blue rose yardage to tie everything together.

The next time I make this quilt, I’ll use scraps and an off-white background for a more vintage-inspired feel. The off-white will help the colors pop in a softer, more aged way.
I hope this post inspires you to create your own granny square quilt! If you’d like to make one yourself, the full pattern is available in my Etsy shop and includes instructions for 4 sizes, making it easy to create the perfect quilt for your home or as a handmade gift.
Until next time,
Marian


Leave a Reply