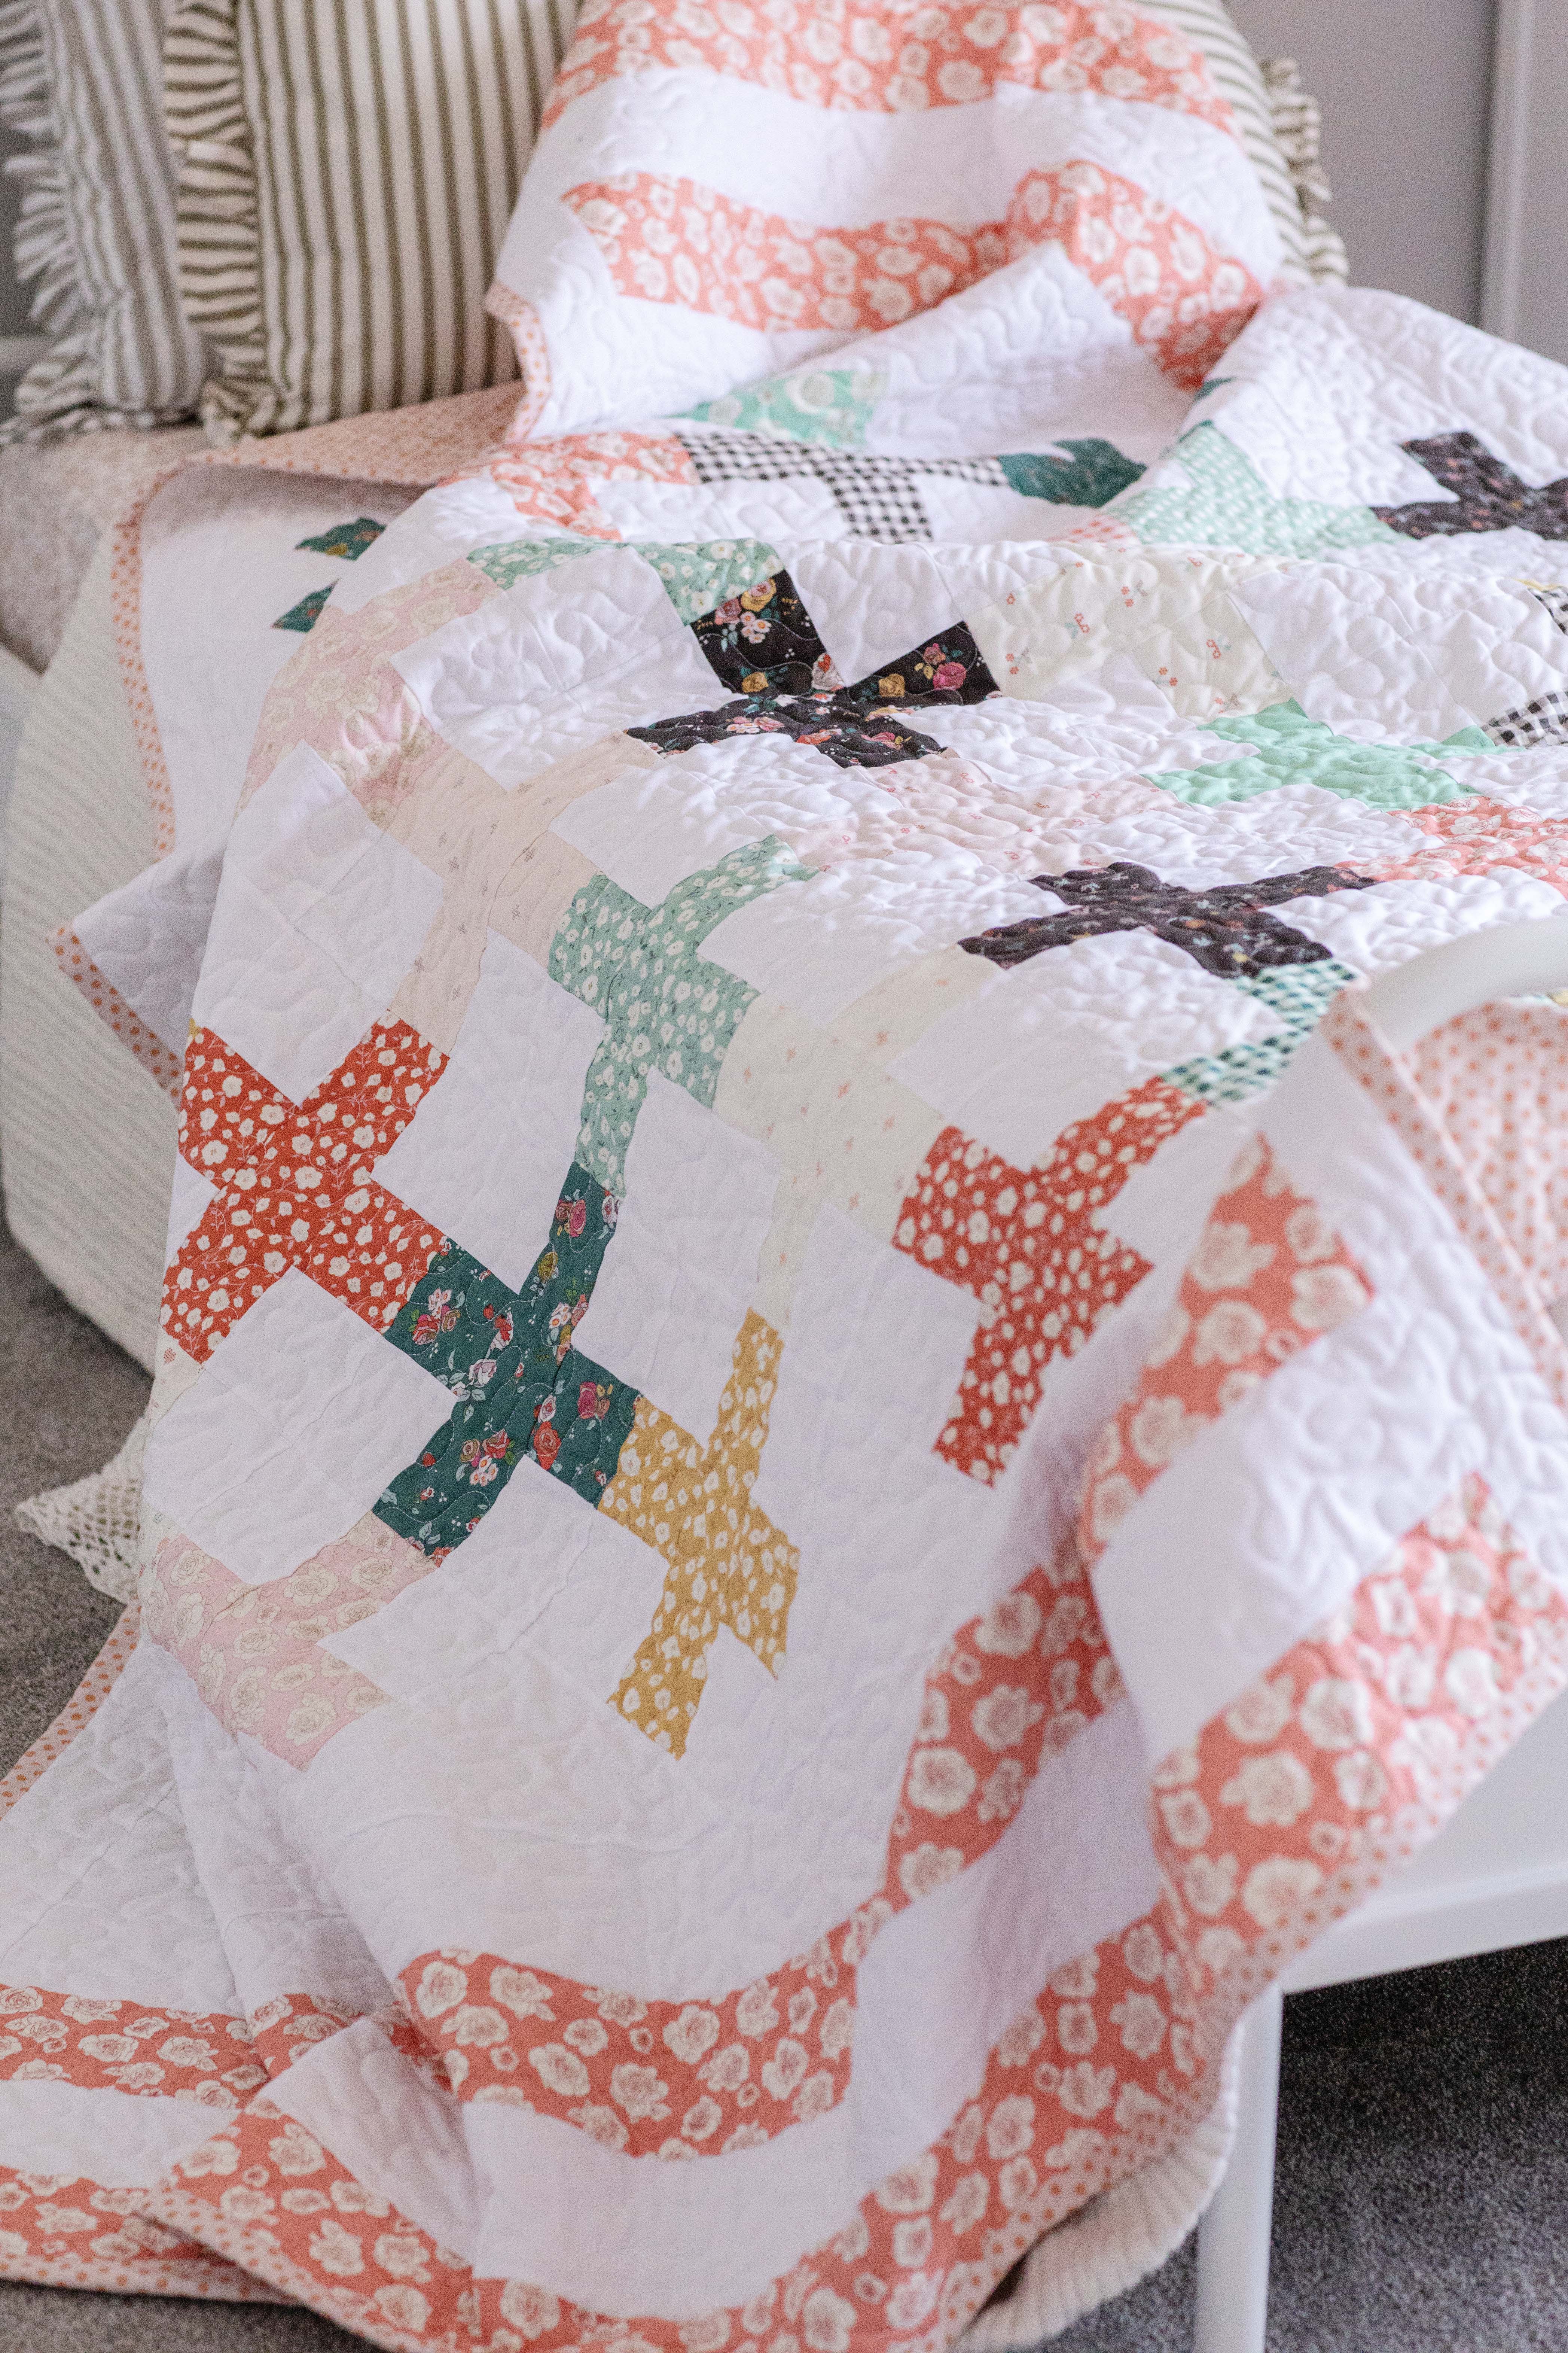
When piecing an on-point quilt, you might notice that the diagonal layout creates uneven edges along the outside. This is where setting triangles come into play. These are the triangular pieces placed along the quilt’s edges to fill in the gaps. By adding setting triangles, you can transform a quilt that would otherwise have jagged, uneven edges into a neat, straight, square shape, ready for binding and finishing.

On-point quilts are simply quilts where the blocks are set at an angle, rather than straight up and down like a traditional grid-set layout. It’s a small change that creates a completely different look that feels a little more dynamic and eye-catching.

Many quilters are intimidated by on-point layouts at first. The diagonal blocks and setting triangles can look tricky, making it seem like this style is only for more experienced quilters. But in reality, setting triangles are just simple pieces that fill in the gaps along the quilt’s edges, for a neat, square quilt.

The key to working with setting triangles is understanding where they go and how they are sewn into your quilt layout.
1. Lay Out Your Blocks on Point
Start by arranging your quilt blocks diagonally, so each block looks like a diamond instead of a square.

2. Add Side Setting Triangles
Side setting triangles (ST) are placed along the edges of your quilt to fill in the gaps between blocks. These triangles turn the jagged edges into straight sides.


3. Sew Rows Together Carefully
When sewing rows, you’ll be working with bias edges, which can stretch more easily than straight grain fabric.
To keep everything accurate:
- Pin at seam intersections
- Sew slowly
- Avoid pulling or stretching the fabric
- Let your machine feed the fabric naturally
4. Add Corner Triangles
Corner triangles go on the four corners of the quilt to complete the shape and square everything off. I like to add these at the very end, after all the rows are joined. This makes it much easier to line up the corners accurately and ensures the edges are neat and even.


5. Trim to Square
Once your quilt top is assembled, you may need to trim the edges slightly to square everything up.
Many quilt patterns—including mine—recommend cutting setting triangles slightly oversized. This gives you a little extra fabric to work with, which is much better than cutting them too small and ending up with gaps at the edges.

And that’s it! I hope this guide helps you feel confident in trying on-point quilt patterns and working with setting triangles. Once you see how everything comes together, it really isn’t as tricky as it might look at first.


If you’d like a full step-by-step guide with diagrams and photos, my Happy Cottage Quilt Pattern is available on Etsy as a 15-page PDF instant download or you can find it here on Payhip. The quilt in this post is available in crib, throw, and twin sizes, and this is a layer cake pattern.
Side note: this pattern was designed so that you can make two different quilts from one layer cake. Here’s a sneak peek of the sister quilt! The full pattern will be coming soon, so stay tuned.

Happy quilting,
Marian


Leave a Reply